
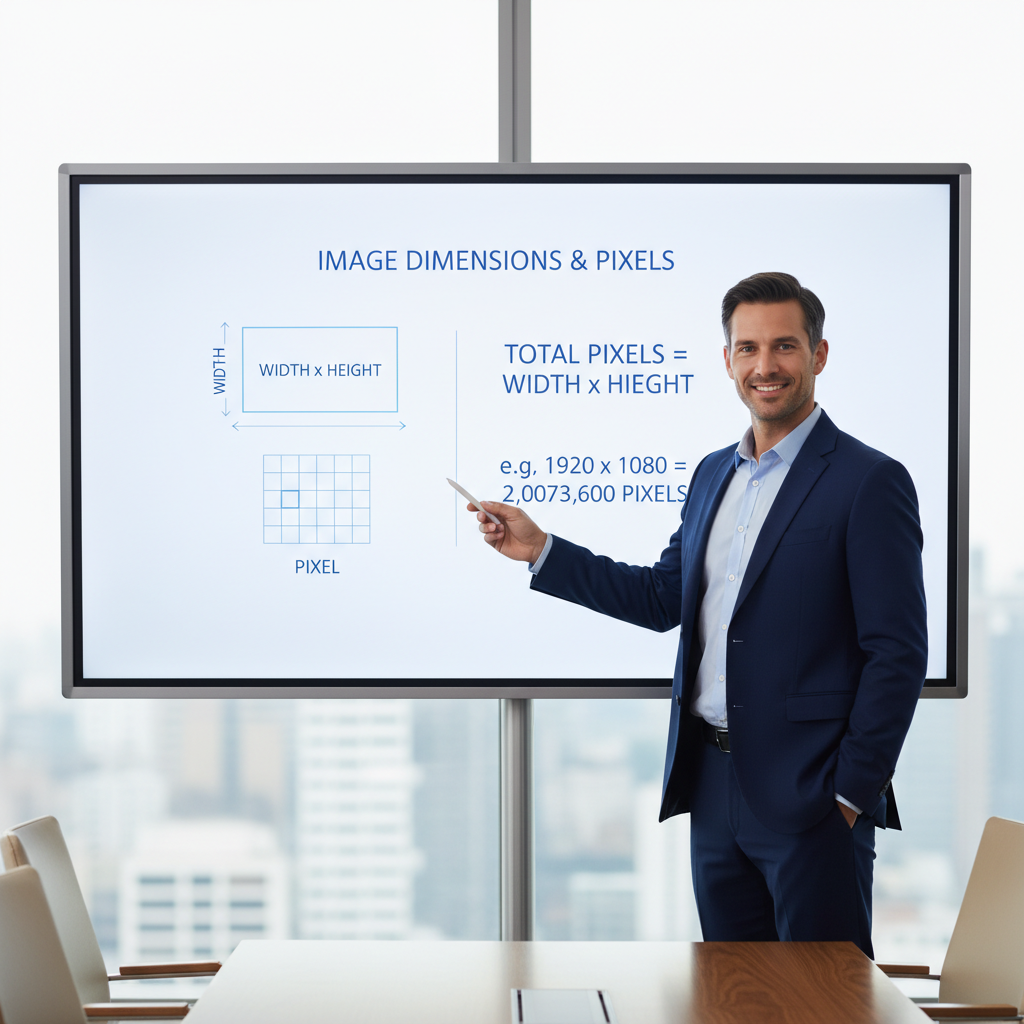
An image resize calculator is a free online tool that helps you determine the new dimensions (width and height) of a picture while preserving its original aspect ratio. By inputting the original dimensions and one new desired dimension (e.g., a new width), the calculator automatically computes the corresponding dimension to prevent the image from being stretched or distorted.
Is it a struggle to get your images right for social media, print, or other documents? Getting the right dimensions without losing quality or stretching the picture can be frustrating. Whether you’re a student, a marketer optimizing website graphics, or just sharing photos, an incorrectly sized image can look stretched, blurry, or unprofessional. The good news is that you no longer need guesswork or complex software to get the perfect size.
At eLearnSmart, we want to give you smart, easy-to-use tools. We offer a collection of over 100+ professional calculators, including our very helpful Image Resize Calculator. This free tool makes resizing simple. It lets you find new image dimensions in pixels, centimeters, or inches while keeping the correct aspect ratio. It’s the perfect tool for anyone who needs fast and accurate results.
In this guide, we’ll show you how to use our free Image Resize Calculator. You will learn why keeping the right aspect ratio is so important. We will also provide helpful examples and answer common questions so you can get perfectly sized images every time. Let’s get started and make resizing your images easy.
How to Use Our Free Image Resize Calculator

Our free image resize calculator makes it easy to change image sizes while keeping the perfect aspect ratio. Follow these simple steps to resize your images effortlessly.
Step 1: Input Your Original Width and Height
First, enter your image’s current width and height. Put the original width in the first box, then enter the original height. Our calculator uses pixels as the standard unit. This gives the calculator the starting size for its calculations.
- Find Dimensions: Right-click your image file and check its properties or details.
- Enter Values: Carefully type the width and height into the “Original Dimensions” fields.
Step 2: Enter Your Desired New Dimension
Next, decide on your new size. You only need to provide one new measurement: either the width or the height. The tool will automatically calculate the other value for you. This keeps your image from being stretched or distorted, making resizing quick and easy.
- Choose One: Decide if you want to enter a new width or a new height.
- Input Value: Enter your target number into the correct “New Dimension” field.
- Maintain Ratio: The calculator will find the other dimension to keep the aspect ratio.
Step 3: Instantly Calculate the Proportional Size
Once your numbers are in, just click the “Calculate” button. Our image resize calculator instantly shows the results. You will see the new width and height for your image displayed clearly. This process is fast, saves you effort, and ensures your images look professional on any platform. This is just one of many free tools available on eLearnSmart.
- Click Calculate: Press the button to start the calculation.
- View Results: See your image’s new, perfectly scaled size.
- Ready to Use: Your image is now ready for the web, print, or any other use.
How do I calculate image size?
Understanding the proportional scale formula
Getting image sizes right is important for a professional look on any platform. The best way to do this is with proportional scaling, which keeps the original aspect ratio.
The formula uses a simple ratio. You just need the original width and height, plus one new dimension (either width or height). With this information, you can find the other dimension and avoid stretching or squishing your image.
Here’s how the formula works:
- To find the New Height: (Original Height / Original Width) * New Width
- To find the New Width: (Original Width / Original Height) * New Height
For example, imagine an image is 1920 pixels wide and 1080 pixels high. If you want a new width of 800 pixels, you would calculate:
- (1080 / 1920) * 800 = 450 pixels.
Your new image would be 800×450 pixels, which preserves its original look. Knowing this formula is a key skill for anyone who works with digital content [1].
Using Our Calculator vs. Manual Calculation
You can calculate new image sizes by hand, but it’s time-consuming and easy to make mistakes. A small error can distort your image, which hurts the quality of your content.
Our free image resize calculator makes this process much easier. Just enter the original dimensions and your one new desired dimension, and it does the math for you instantly.
Here’s a comparison:
| Feature | Manual Calculation | eLearnSmart Image Resize Calculator |
|---|---|---|
| Accuracy | Prone to human error | Highly accurate, automated |
| Speed | Slow, requires mental math | Instant results |
| Complexity | Requires remembering formulas | User-friendly, no formulas needed |
| Efficiency | Time-consuming process | Saves significant time |
| Accessibility | Requires personal knowledge | Available 24/7, free to use |
Our image resize calculator is just one of more than 100 free tools eLearnSmart offers to make your work easier. With these resources, you can spend more time on creativity and less on calculations. This helps you get precise image sizes every time and avoid common mistakes in digital design [2].
How to resize a photo to a specific size?
Resizing for Social Media Platforms
Sizing images correctly for social media is very important. Each platform needs a specific size. Using the right dimensions stops your pictures from being poorly cropped, blurry, or distorted. Our free image resize calculator helps your photos look professional every time.
Here are the best image sizes for popular platforms:
- Facebook:
- Profile Picture: 170×170 pixels on desktop [3].
- Cover Photo: 851×315 pixels.
- Feed Image: 1200×630 pixels.
- Instagram:
- Profile Picture: 320×320 pixels.
- Square Post: 1080×1080 pixels.
- Portrait Post: 1080×1350 pixels.
- X (formerly Twitter):
- Profile Photo: 400×400 pixels.
- Header Photo: 1500×500 pixels.
- In-Stream Photo: 1600×900 pixels.
- LinkedIn:
- Profile Photo: 400×400 pixels.
- Background Photo: 1584×396 pixels.
- Post Image: 1200×627 pixels.
Figuring out these sizes by hand takes time. Our calculator makes it easy. Just enter your photo’s current size. Then, type in the new width or height you need. Our tool will find the other dimension for you, keeping the picture’s shape correct. This ensures your images are perfectly sized and look great.
Resizing for Print (CM and Inches)
Sizing images for print is different from sizing them for screens. For printing, quality depends on resolution, which is measured in Dots Per Inch (DPI). A higher DPI gives you a sharper, more detailed print. For the best results, most printers suggest using 300 DPI [4].
Our comprehensive suite of over 100+ professional calculators includes tools that help you convert pixel dimensions to physical print sizes. This makes preparing images for print simple.
Here are the steps for resizing for print:
- Determine Desired Print Size: First, decide on the final physical size (e.g., 4×6 inches, A4).
- Understand DPI Requirements: Next, find the best DPI for your print project. For example, 300 DPI is standard for photos.
- Calculate Pixel Dimensions: Multiply your desired print size by the DPI.
- For a 4×6 inch photo at 300 DPI:
- Width: 4 inches * 300 DPI = 1200 pixels.
- Height: 6 inches * 300 DPI = 1800 pixels.
- For a 4×6 inch photo at 300 DPI:
- Use Our Calculator: Enter your image’s current pixel size into our calculator. Then, enter the target pixel width or height you just calculated. The tool will give you the other dimension, keeping the image’s proportions correct.
Following these steps will make your printed images look sharp and professional. It helps you avoid the blurry or pixelated look that comes from low resolution. Our tools on elearnsmart.com make these calculations easy.
Resizing for Digital Documents (PDFs)
When you put images in digital documents like PDFs, you need to resize them differently. The main goal is usually to make the file size smaller. This helps documents load faster and makes them easier to share. But, it’s also important to keep the image clear.
Large, high-resolution images can make document files very big. This can slow down loading times and make the document frustrating to use. That’s why it’s important to get the image size right for digital use.
Follow these guidelines for resizing images for digital documents:
- Target Resolution: A resolution of 72 to 150 DPI is usually enough for images on a screen [5]. Higher resolutions often aren’t needed and just make the file bigger.
- Actual Display Size: Think about how large the image will actually look in the document. For example, if an image will only be shown at 600 pixels wide, the original file doesn’t need to be 3000 pixels wide.
- Keep the Aspect Ratio: Always keep the image’s original proportions. This stops the picture from looking stretched or squished. Our image resize calculator is great for this.
- Use Compression: After resizing the image, you can make the file even smaller by using compression tools. Many PDF programs have this feature built-in.
Our image resize calculator helps you quickly change your image’s size. You can find the right balance between a small file size and good image quality for any digital document. Our collection of free tools can help with all your school and work projects.
Why is Maintaining Aspect Ratio Important?
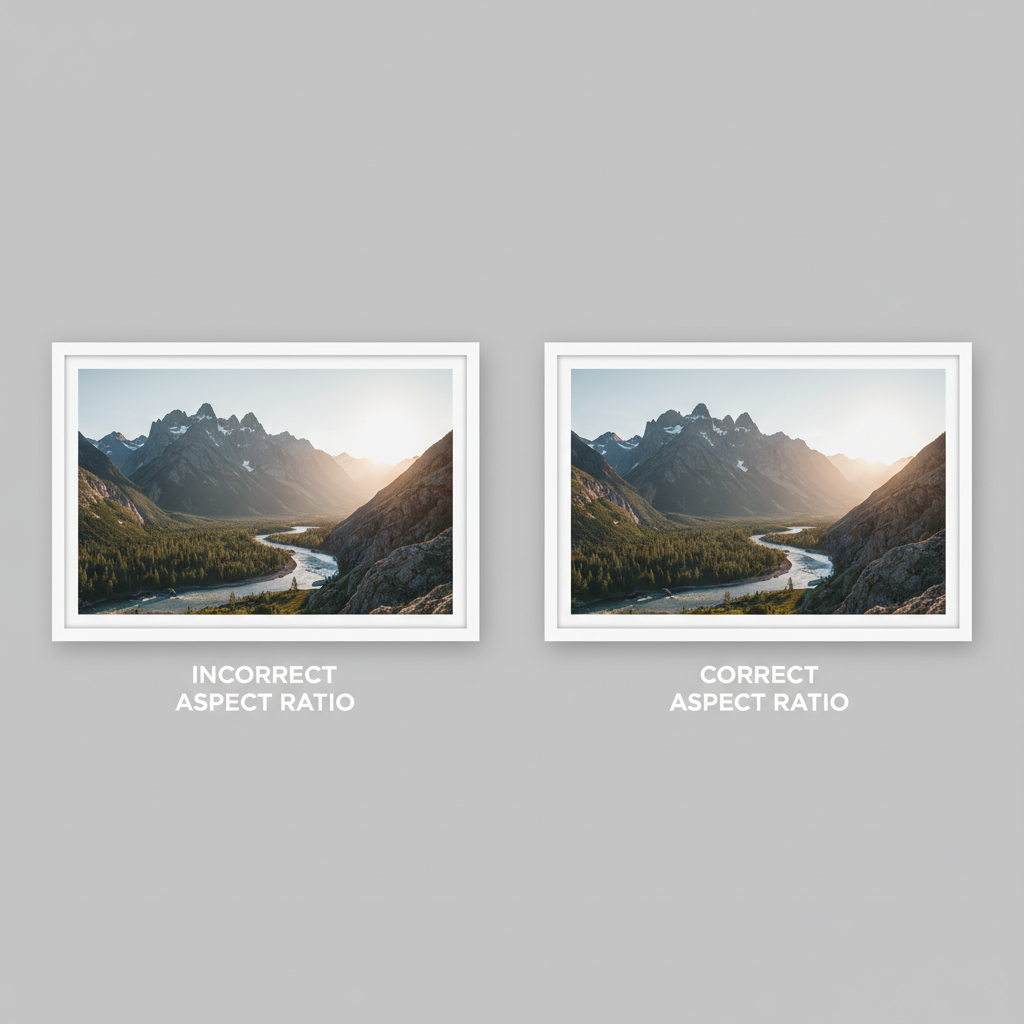
What is an Aspect Ratio?
An aspect ratio is the link between an image’s width and its height. It’s written as two numbers with a colon, like 16:9 or 4:3. For example, a 16:9 ratio means an image is 16 units wide for every 9 units high. Keeping this ratio is key to making sure your images look right.
Understanding the aspect ratio helps your pictures look the way they should. Here are some common examples:
- 16:9: Standard for widescreen videos, modern displays, and many social media covers [1].
- 4:3: Often used for older television screens and some traditional photography.
- 1:1: A perfect square, popular on platforms like Instagram.
- 3:2: A classic ratio for digital cameras and prints.
Our free image resize calculator makes this easy. It keeps your image’s width and height balanced automatically. This is just one of more than 100 free tools in our app.
How to Avoid Image Stretching and Distortion
If you ignore the aspect ratio when resizing, your image can get stretched or squished. This happens if you change the width but not the height, or vice versa. As a result, people can look too wide, objects can look too tall, and the whole picture will seem off.
Stretched images make your content look unprofessional. They can confuse people and weaken your message. To avoid this, always keep the original aspect ratio when you resize an image.
Here is how to prevent your images from stretching:
- Use a Proportional Resizer: Use tools that lock the width and height together.
- Enter Original Dimensions: Start with the original width and height of your image.
- Choose One New Dimension: Decide on the new width or height you want.
- Let the Calculator Do the Rest: Our tool will find the other dimension for you. This keeps the image perfectly balanced.
Using our calculator ensures every resized image looks sharp and professional. Our app offers this tool and more than 100 other free calculators for your needs.
Frequently Asked Questions
What is my aspect ratio 1920×1080?
A 1920×1080 pixel resolution has a 16:9 aspect ratio. To find this, you simplify the ratio of the width (1920) to the height (1080).
The largest number that divides evenly into both 1920 and 1080 is 120. When you divide both numbers by 120, you get:
- 1920 / 120 = 16
- 1080 / 120 = 9
This gives you the simplified ratio of 16:9. The 16:9 aspect ratio is very common and is used for high-definition TVs (HDTV), computer monitors, and many video formats [6]. Our free image resize calculator can quickly find the aspect ratio for any image size.
What is 3.5 * 4.5 cm photo size in pixels?
The pixel size of a 3.5 x 4.5 cm photo depends on its resolution. Resolution is measured in pixels per inch (PPI) or dots per inch (DPI). Because of this, there is no single pixel size for a photo with those physical dimensions.
First, convert centimeters to inches, because PPI is based on inches. There are 2.54 centimeters in one inch [7].
- Width: 3.5 cm / 2.54 cm/inch = 1.378 inches (approx.)
- Height: 4.5 cm / 2.54 cm/inch = 1.772 inches (approx.)
Next, multiply the size in inches by the resolution you need. For example, 72 PPI is common for web images, while 300 PPI is used for high-quality printing [8].
Here’s how the pixel dimensions change with different PPI values:
| PPI (Pixels Per Inch) | Width in Pixels (1.378 inches) | Height in Pixels (1.772 inches) |
|---|---|---|
| 72 PPI (Web/Screen) | 1.378 * 72 ≈ 99 pixels | 1.772 * 72 ≈ 128 pixels |
| 150 PPI (Standard Print) | 1.378 * 150 ≈ 207 pixels | 1.772 * 150 ≈ 266 pixels |
| 300 PPI (High-Quality Print) | 1.378 * 300 ≈ 413 pixels | 1.772 * 300 ≈ 532 pixels |
Our free image resize calculator makes these conversions easy. You can enter the size in centimeters and see the pixel dimensions for different PPI settings.
How to resize a photo to a specific size?
You can easily resize a photo with the right tool. Our free image resize calculator makes the process quick and accurate. Just follow these steps:
- Choose Your Unit: First, decide if you want to resize by pixels, percent, or a physical size like inches or centimeters. Our calculator can use any of these units.
- Enter Original Size: Type in the current width and height of your image.
- Enter New Size: Enter your target width or height. You only need to enter one value.
- Lock Aspect Ratio: Make sure the “Lock Aspect Ratio” option is on. This is key to preventing a stretched or squashed image. When you change one dimension, the other will adjust automatically to keep the correct proportions.
- Get the New Size: Our image resize calculator will instantly show the new, proportional size. This ensures your resized image looks right and meets your needs.
Using an image resize calculator is the best way to get precise results for social media, print, or web use. It helps you get the exact size you need without distorting the photo. Our app offers over 100+ free calculator tools to make tasks like this easy.
Sources
- https://www.adobe.com/creativecloud/photography/discover/aspect-ratio.html
- https://www.interaction-design.org/literature/article/the-importance-of-high-quality-images-in-web-design
- https://www.facebook.com/help/120376734717521
- https://www.adoramapix.com/blog/dpi-for-printing/
- https://www.makeuseof.com/what-is-dpi-and-do-you-need-it/
- https://en.wikipedia.org/wiki/16:9_aspect_ratio
- https://www.nist.gov/pml/weights-and-measures/metric-conversion-factors
- https://helpx.adobe.com/photoshop/using/image-size-resolution.html